Install with Pavers/Concrete
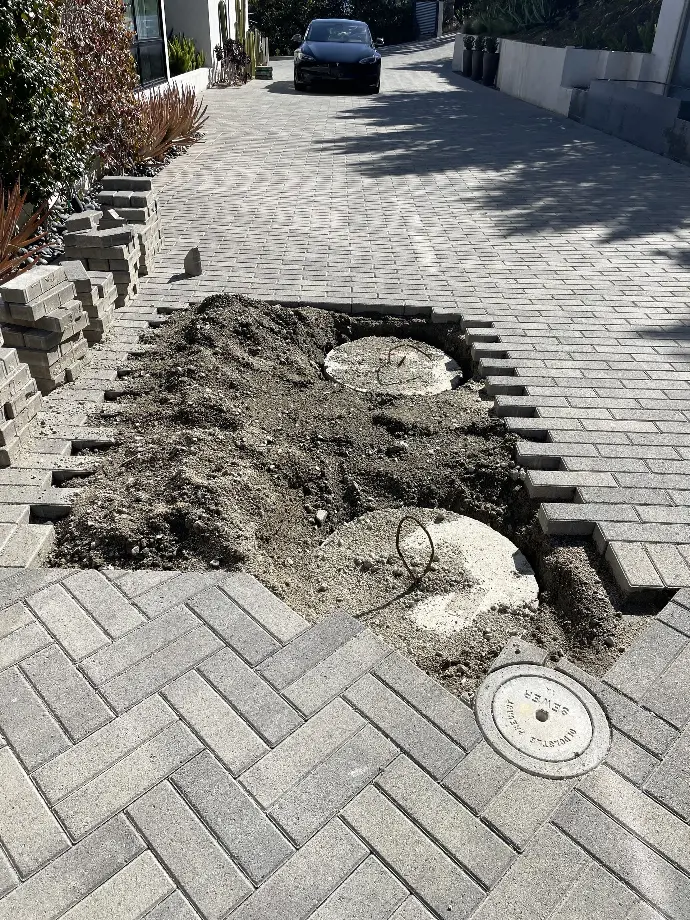
Take a photo of the existing paver pattern for reference. Mark the area where you intend to install the cover.
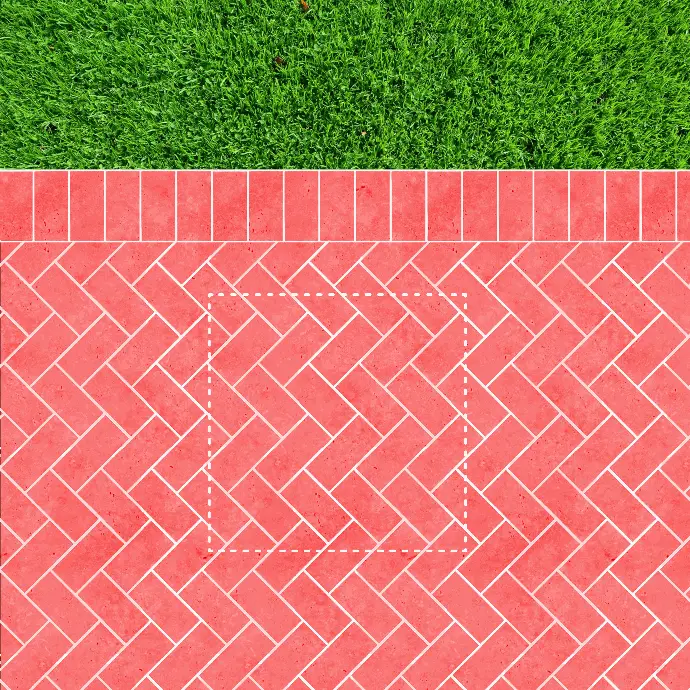
Remove any overlay in the marked area. Apply the mortar base in the space where the tray will be positioned. If installing on a hard surface, ensure that the internal flange of the frame is fully supported.
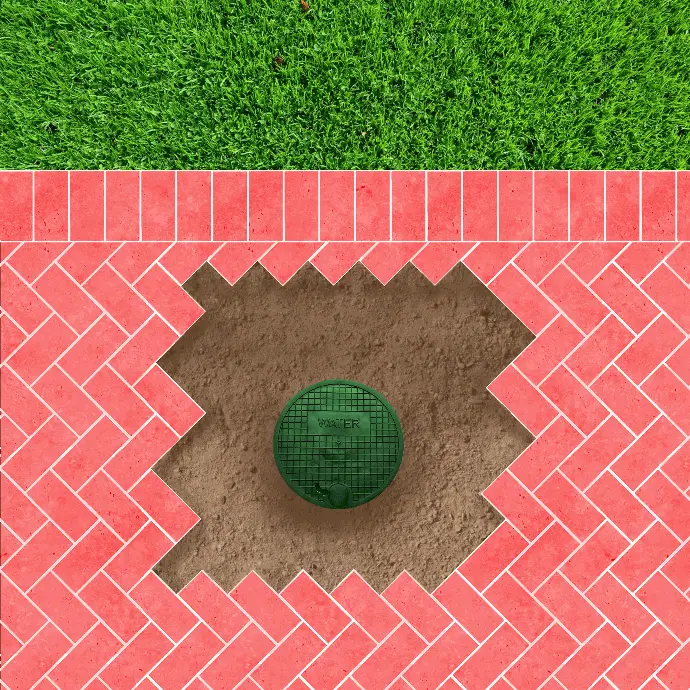
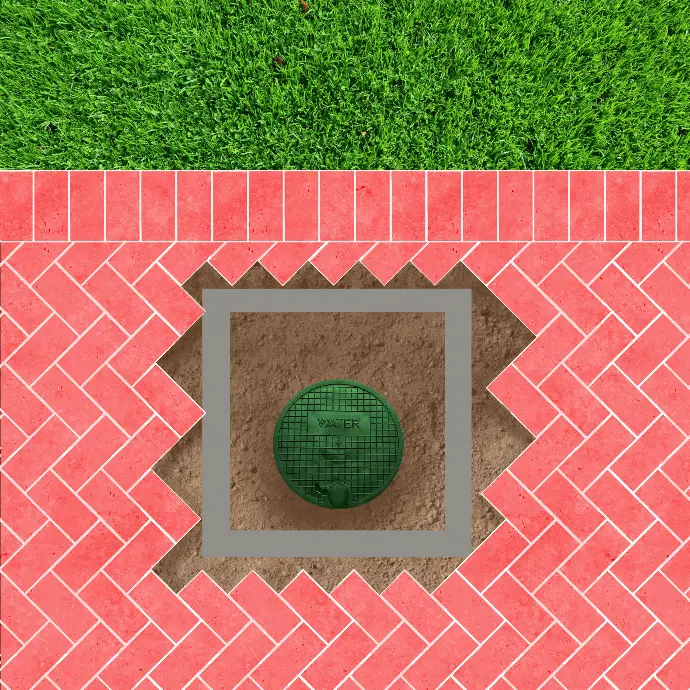
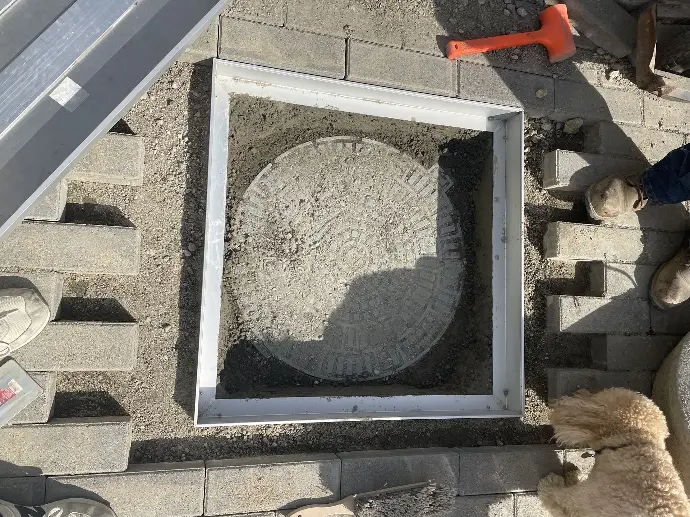
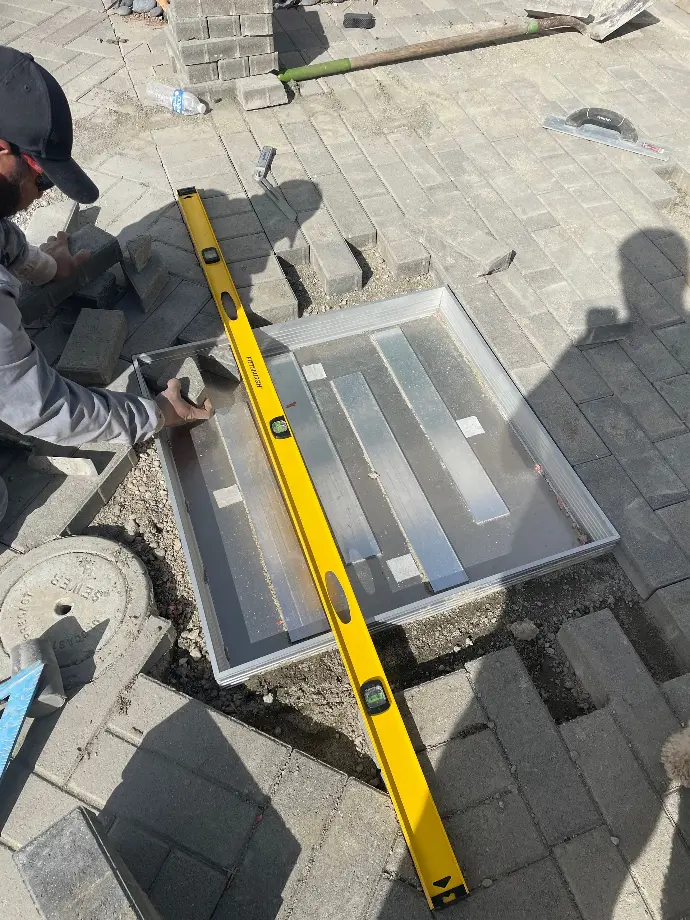
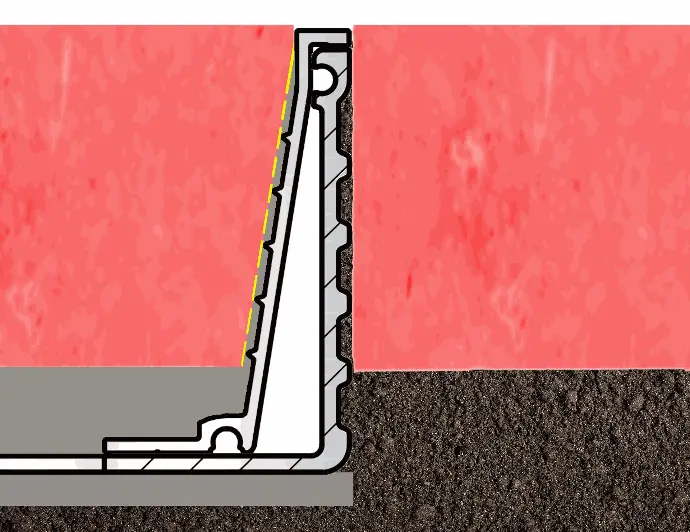
Place the tray in the frame, ensuring it's 1/8 inch below the finished grade. Use a level to check the tray's position. Tamp down the tray to the desired level.
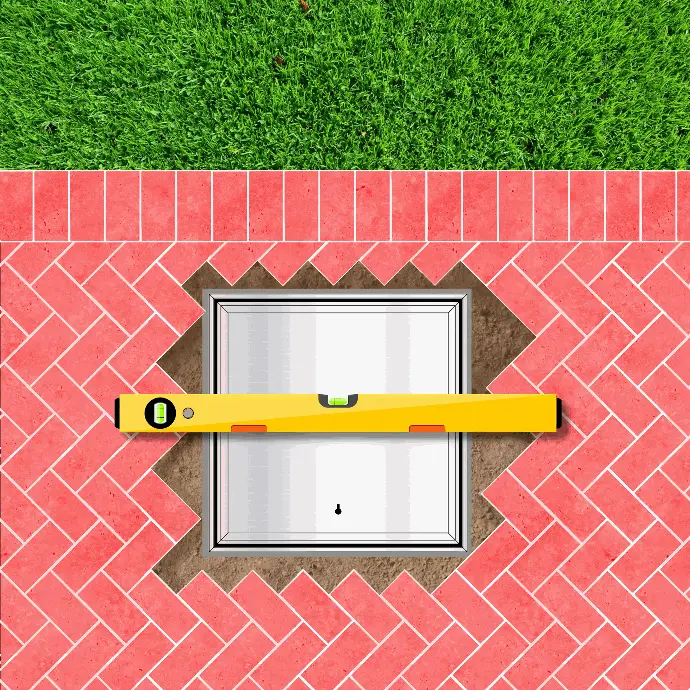
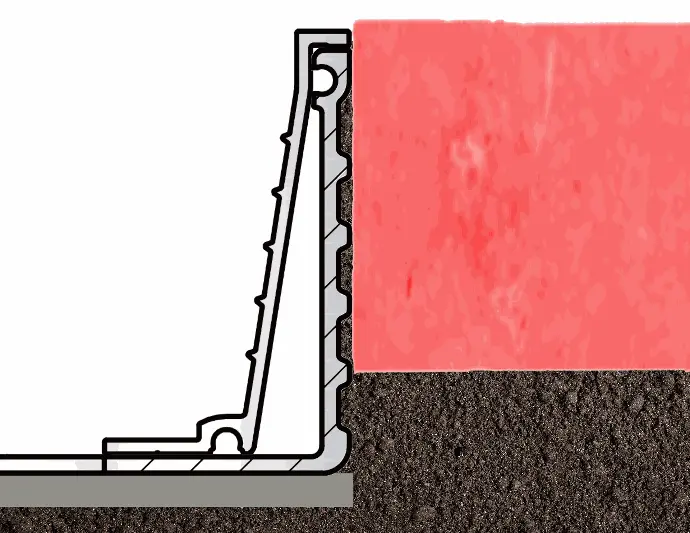
Take out the tray. Apply a thin layer of mortar within the frame to stabilize the area.
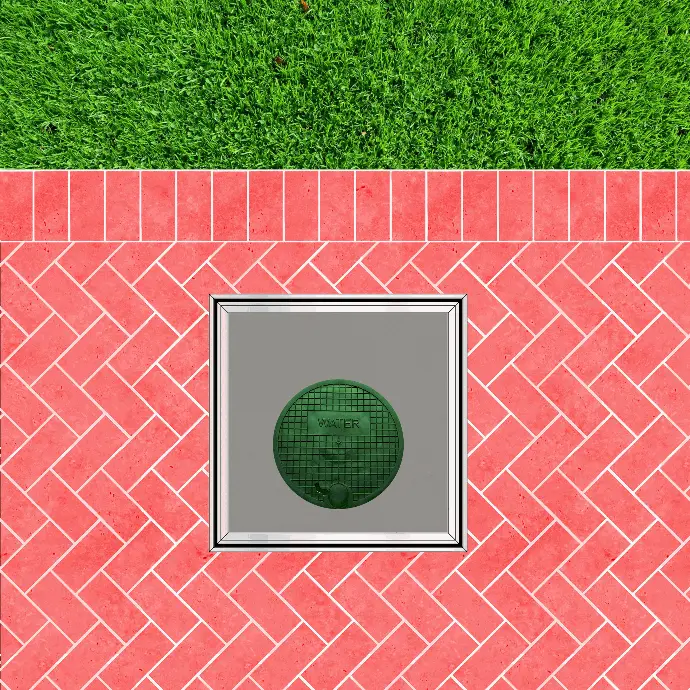
Put the tray back in place. Continue paving up to the perimeter of the frame.
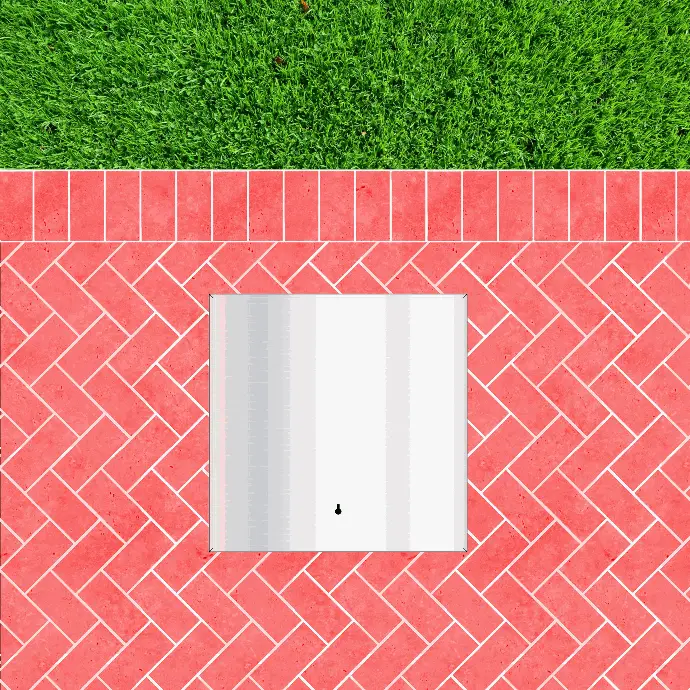
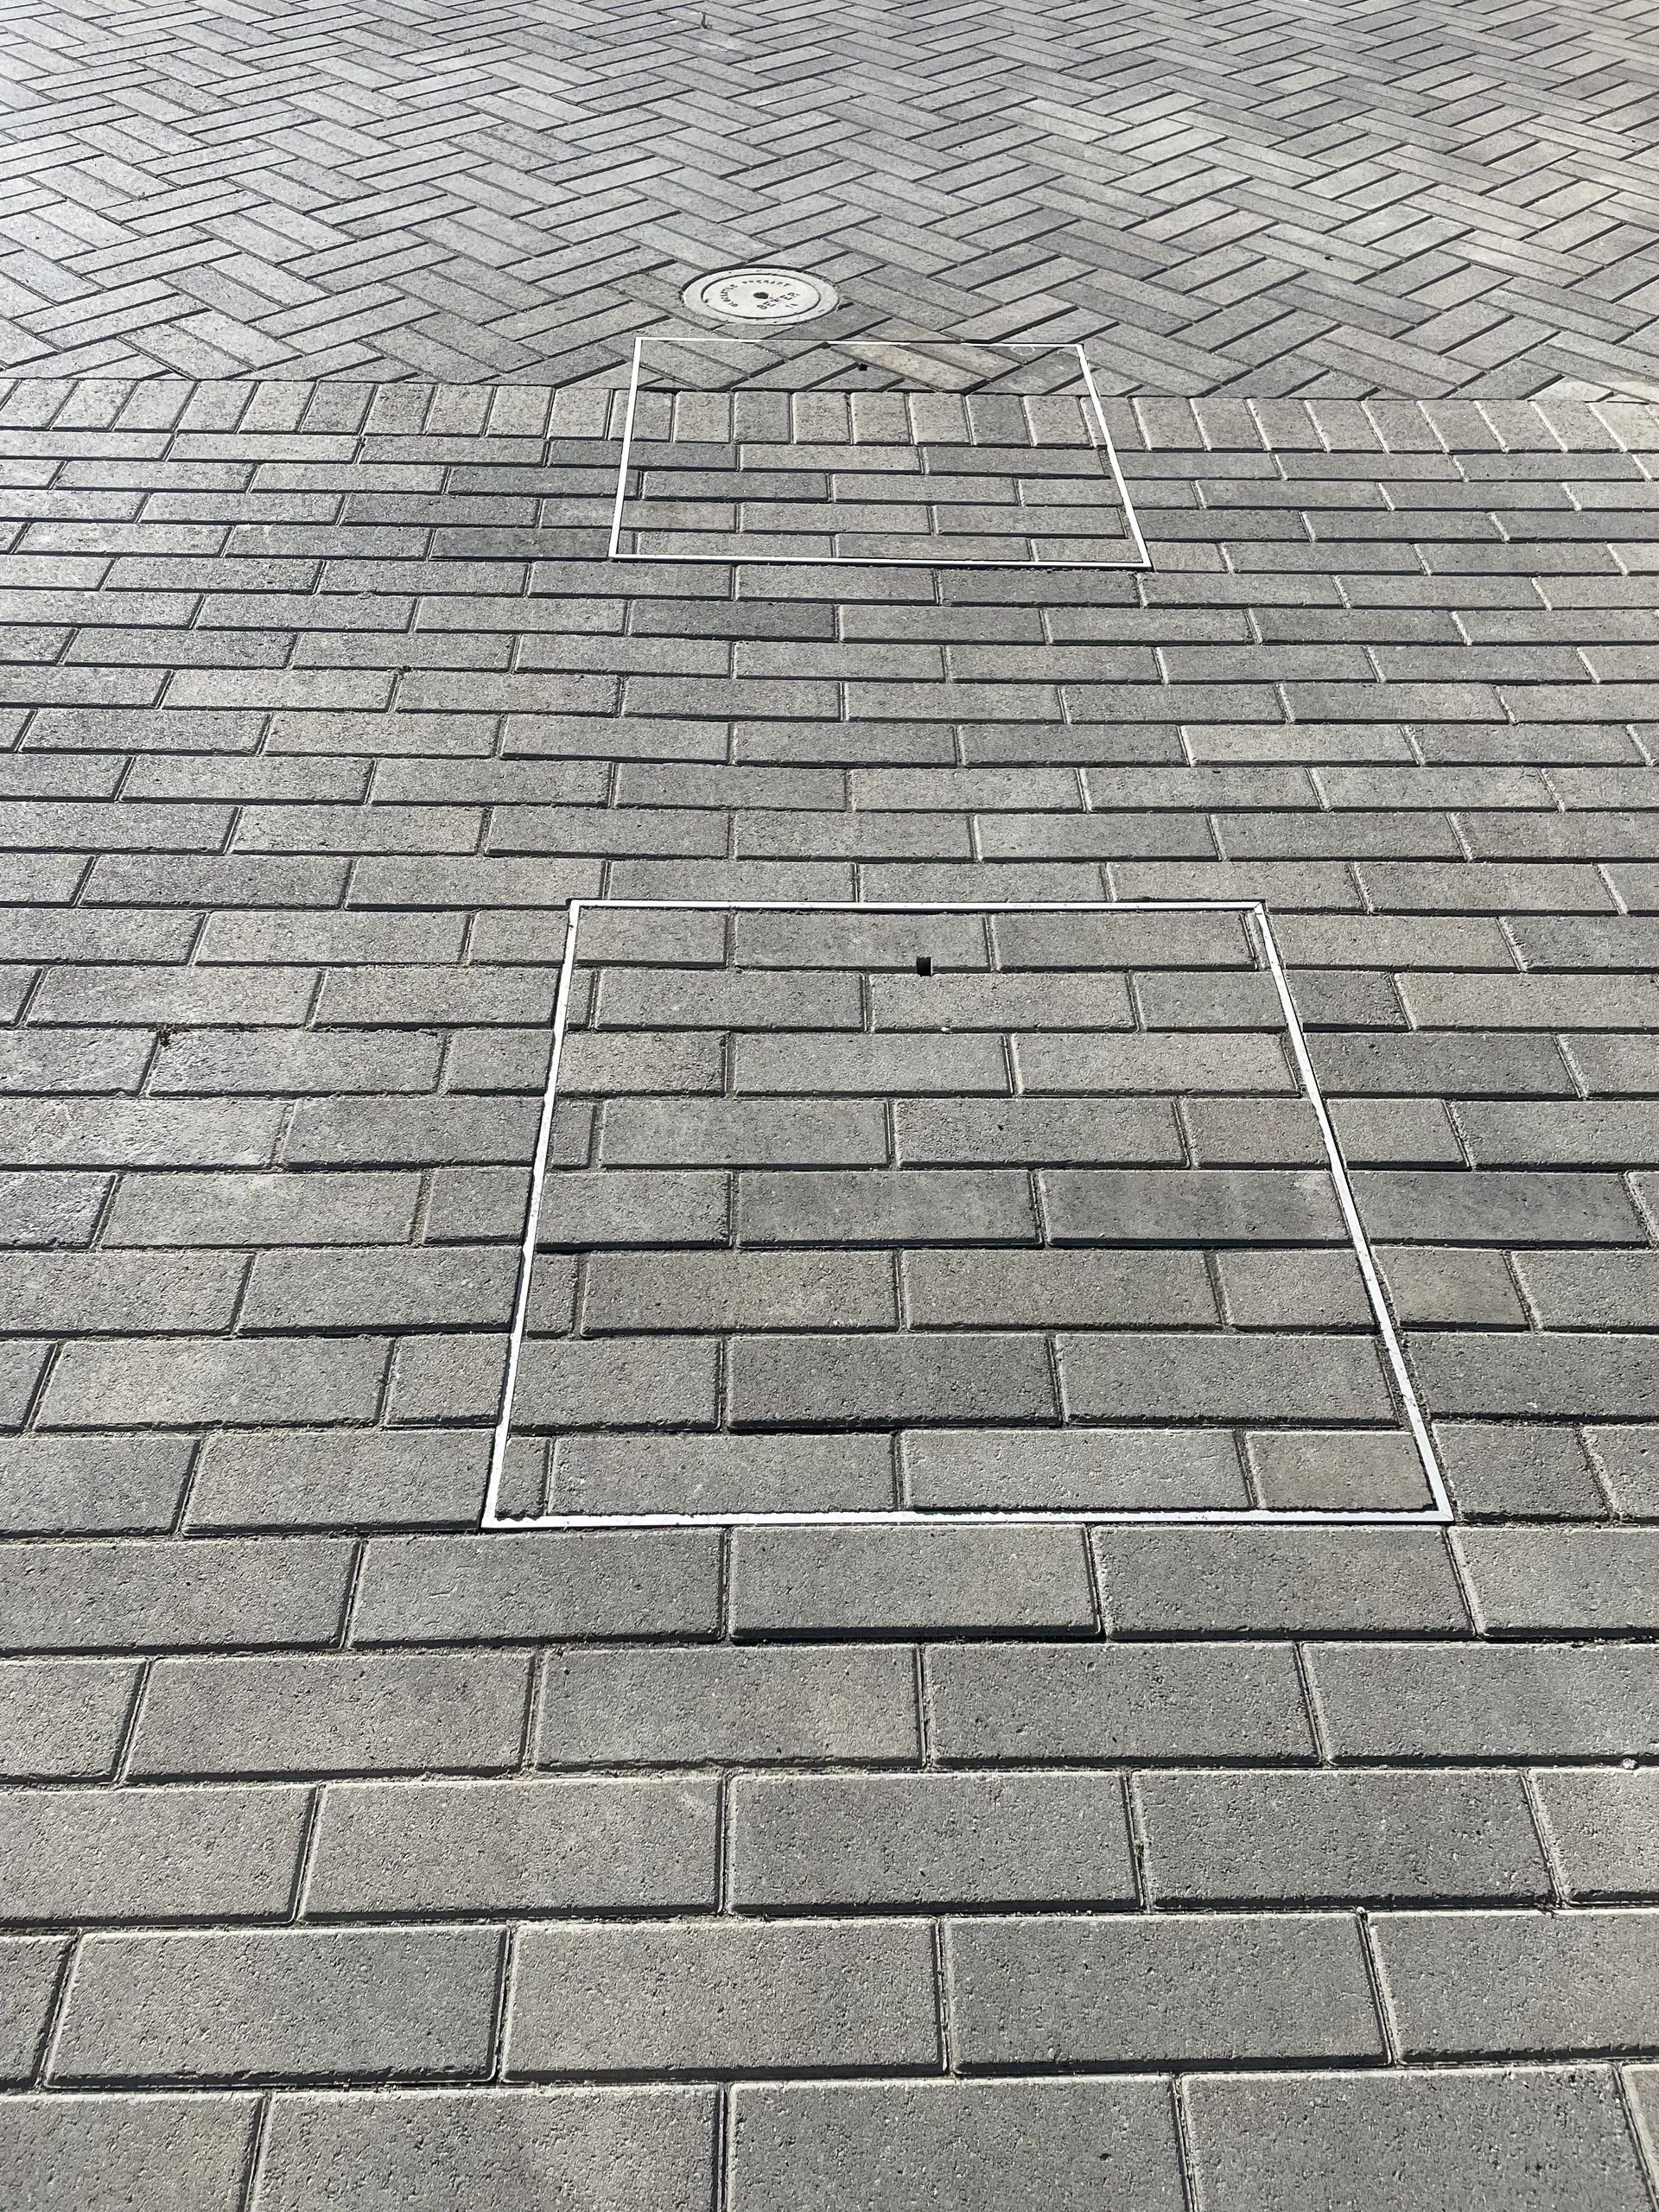
Fill the bottom of the tray with sand or mortar to the required depth for the pavers. Start placing the pavers in the tray from the center outward, matching the existing pattern.
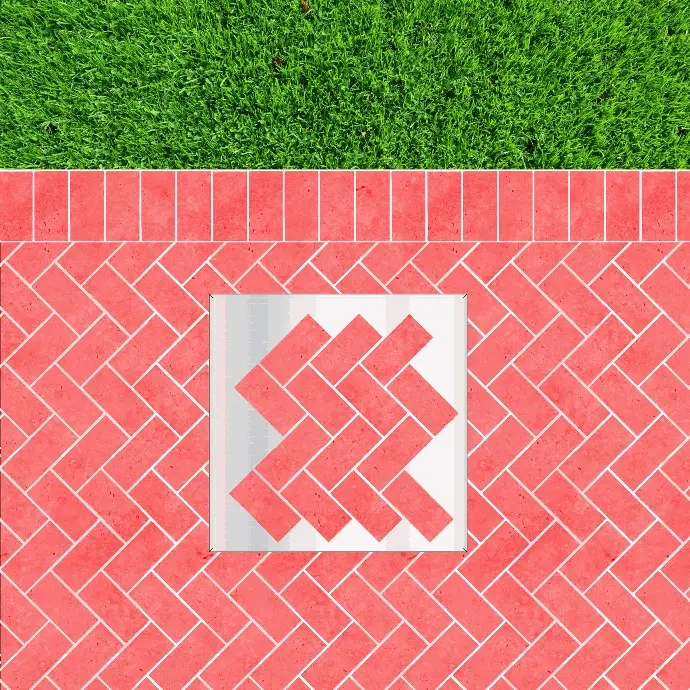
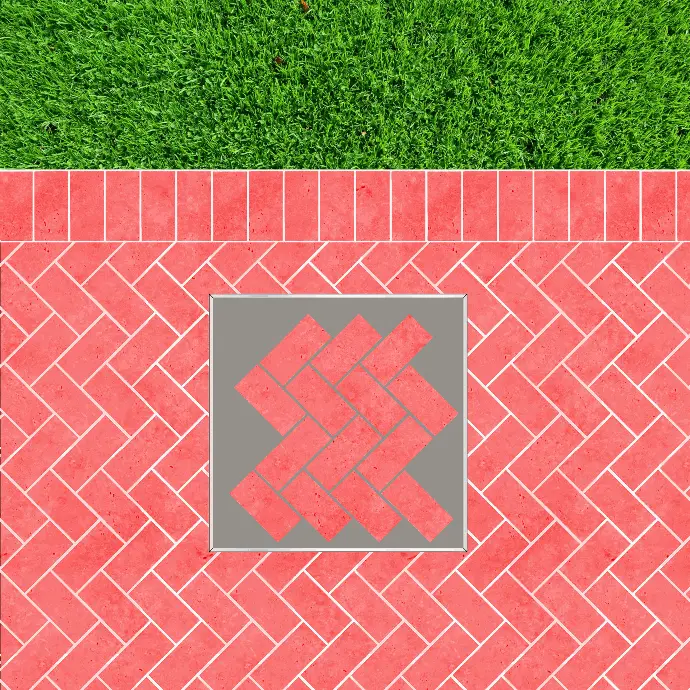
Tailor the perimeter of the pavers to match any taper in the design.
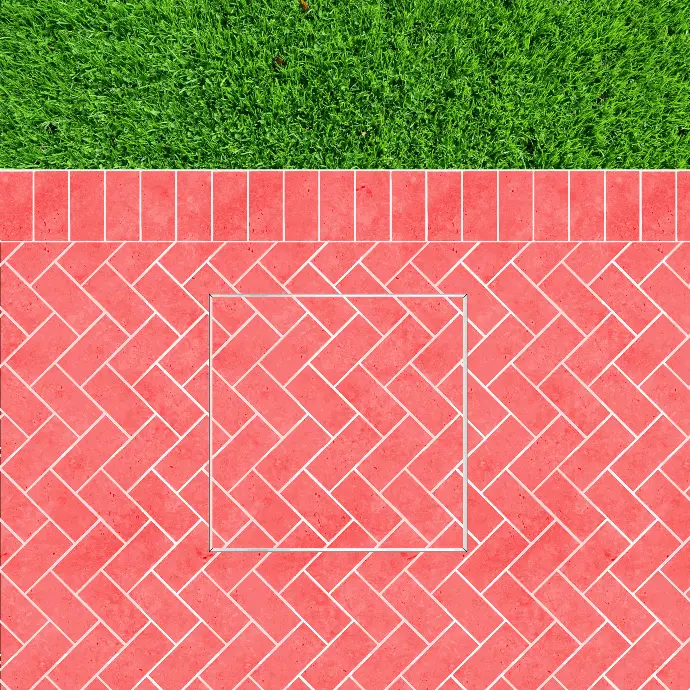
Measure and note the position of the lifting lug hole. Apply painters tape to the are where the lifting lug hole will be located. Use only one lifting lug hole, align with the direction you plan to remove the cover. Mark the position on the painters tape.
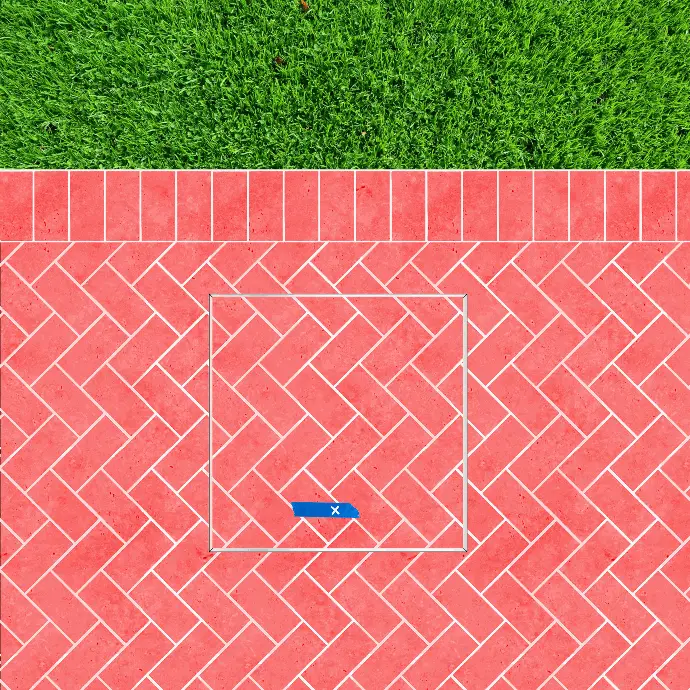
Mark two points within 1 inch where the slot will go. Use a 5/16 inch masonry drill bit to drill a slot that is 1 inch long at the marked position. Use the same drill bit to connect the dot, creating the 1 inch slot.
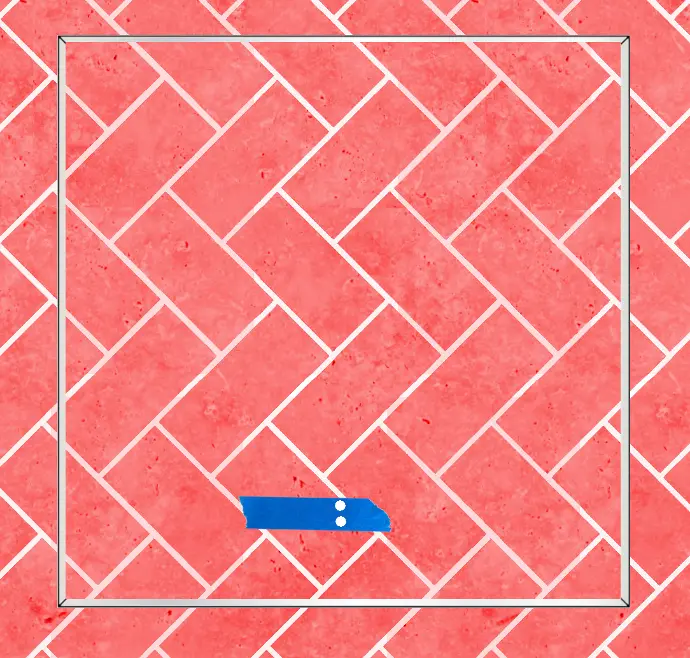
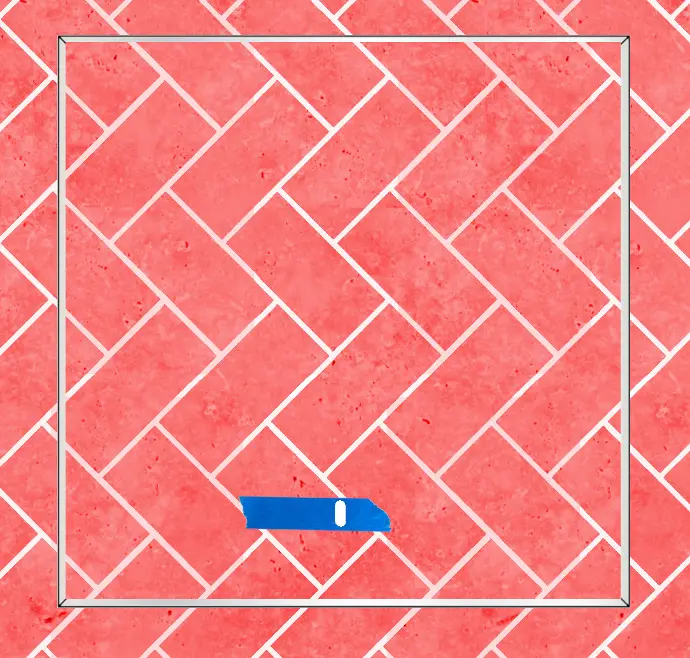
Use a 5/16 inch masonry drill bit to drill a slot that is 1 inch long at the marked position.
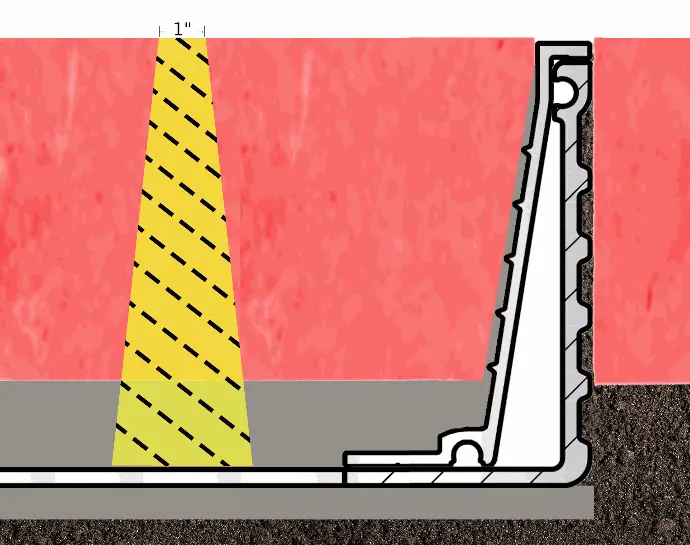
Optionally, paint the top of the frame to match the surrounding pavers or mortar.
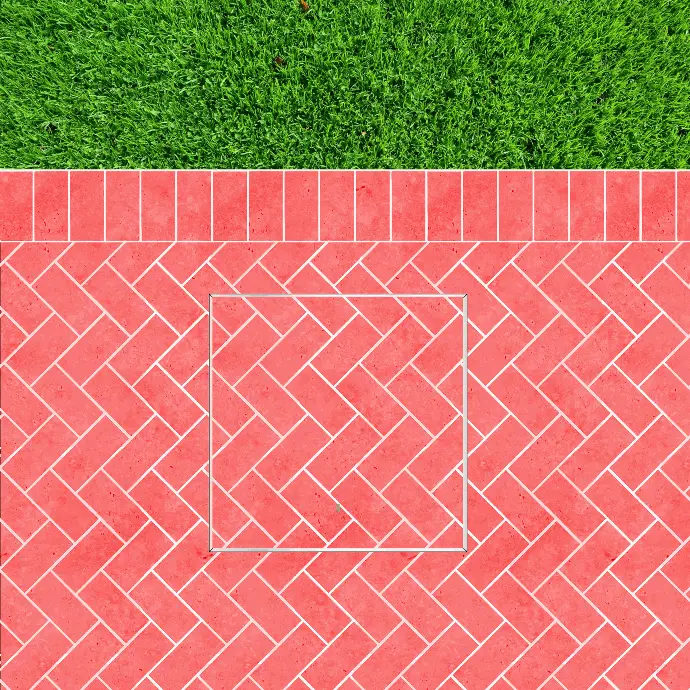
The clear opening size is 3.5 inches smaller than the O.D. of the cover.
Consider ordering a slightly larger size to better fit your paver pattern and positioning the cover not necessarily symmetric with the opening below. Maximize the use of full size pavers to eliminate slivers.
Water features need grounding lugs for lighting.
Do not apply hot water to free any ice from the PaverPal. Rather, use De-Icer and a rubber mallet.
If the paver field is on compacted materials, the frame of the cover should also sit on compacted materials so that over time both the paverpal and surrounding field settle equally. If you create a hard point in the middle of a compacted field, over time it can become proud and problematic.
Pouring concrete for stainless steel covers, you can use ¼ 20 carriage bolts in lew of nelson studs to secure cover in pavement overlay.
If you’re using an upper seal to create a water tight PaverPal, the frame must have additional wire, wood, or metal appendages to prevent the frame from being pulled out with the tray.
Do not pack the pavers in tightly at the perimeter; it can cause the tray to be pushed outward, wedging it in place making it difficult to remove.
To make tray removal easier, you can file or lightly sand down the 90 degree edge on the inside pan to create greater clearance.